How to Implement Lists in SwiftUI
List in SwiftUI allows us to present rows of data arranged in single column with an option to select one or more row items. In this tutorial we will dive into how to create a simple multi-section List. Here is how to do it:
Creating a Datasource
We will start with creating a datasource which we will use to populate the list with. We will create a struct called Place and then create another struct called Continent. We will then create an array of type Place inside the Continent struct and use that as our data source. Make sure that Place struct conforms to Identifiable protocol. More on this protocol later.
Here is the code for it:
struct Place: Identifiable {
    var id = UUID()
    var name : String = ""
}

struct DataSource {
    static var continent = [Place(name: "Asia"),
                            Place(name: "Africa"),
                            Place(name: "South America"),
                            Place(name: "North America"),
                            Place(name: "Australia"),
                            Place(name: "Antartica"),
                            Place(name: "Europe")]
}
Implementing a Simple List in SwiftUI
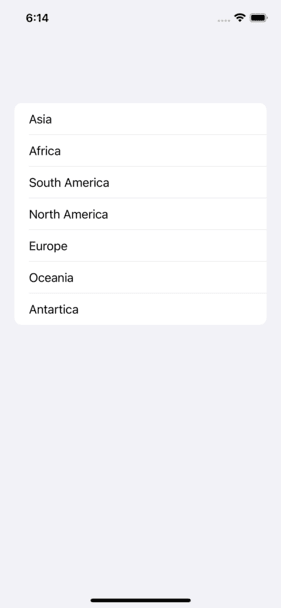
Next, we will implement the List, so in the `contentView` please write the following:
struct ContentView: View {
    var body: some View {
        List(DataSource.continent) { continent in
            Text(continent.name)
        }
    }
}
That's about it! List gets the data source, and returns the item, which we will add in a Text view.
Adding Sections
Now, lets add sections to this list. We will make these continents as section headers and list countries under each continent (except for Antartica 🥶). Our datasource will look something like this now:
struct Country: Hashable, Identifiable {
var id = UUID()
var countryName : String = ""
}
struct Place: Identifiable {
var id = UUID()
var name : String = ""
var countries = [Country]()
}
struct DataSource {
static var continent = [Place(name: "Asia",
countries: [Country(countryName: "🇹🇭 Thailand"),Country(countryName: "🇯🇵 Japan"),Country(countryName: "🇮🇳 India"),Country(countryName: "🇵🇰 Pakistan"),Country(countryName: "🇻🇳 Vietnam")]),
Place(name: "Africa",
countries: [Country(countryName: "🇿🇦 South Africa"),Country(countryName: "🇸🇩 Sudan"),Country(countryName: "🇳🇬 Nigeria"),Country(countryName: "🇳🇦 Namibia"),Country(countryName: "🇰🇪 Kenya")]),
Place(name: "South America",
countries: [Country(countryName: "🇧🇷 Brazil"),Country(countryName: "🇨🇴 Colombia"),Country(countryName: "🇨🇱 Chile"),Country(countryName: "🇦🇷 Argentina"),Country(countryName: "🇧🇴 Bolivia")]),
Place(name: "North America",
countries: [Country(countryName: "🇨🇦 Canada"),Country(countryName: "🇺🇸 United States of America")]),
Place(name: "Europe",
countries: [Country(countryName: "🇫🇷 France"),Country(countryName: "🇩🇪 Germany"),Country(countryName: "🇨🇭Switzerland"),Country(countryName: "🇬🇧 United Kingdom"),Country(countryName: "🇳🇱 Netherland")]),
Place(name: "Oceania",
countries: [Country(countryName: "🇦🇺 Australia"),Country(countryName: "🇳🇿 New Zealand"),Country(countryName: "🇵🇬 Papua New Guinea")]),
Place(name: "Antartica",
countries: [Country(countryName: "🥶")])
]
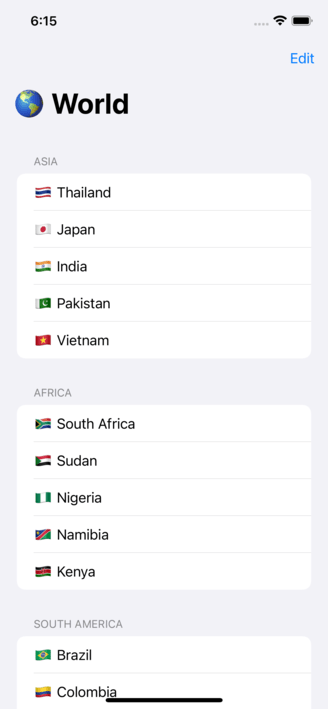
}We have a new struct called Country that conforms to Hashable and Identifiable and in Place struct we have an array of type Country. Going back to the content view will now add few things, here is the code:
NavigationView {
    List {
        ForEach(DataSource.continent, id: \.id) { continent in
            Section(header: Text(continent.name)) {
                ForEach(continent.countries, id: \.id) { country in
                    Text(country.countryName)
                }
            }

        }
    }.navigationTitle("🌎 World")
}
First we will wrap our List View with a NavigationView. Inside the List closure, we will run a ForEach loop on the continents array. Please note here that we are providing an id argument as well here. This is used in order to tell the List how to differentiate between elements. The first ForEach closure returns the element of type Continent. We will create the section header using the Section view. We will provide the Continent name as the header and then inside the content closure we will run another ForEach loop but this time on continent.countries array. Note the \.id, in order to identify each country element. This is the reason why our structs conform to Identifiable protocols, so that it is mandatory for us to add the id property for each element. Next, we are just showing the countryName in the Text view.
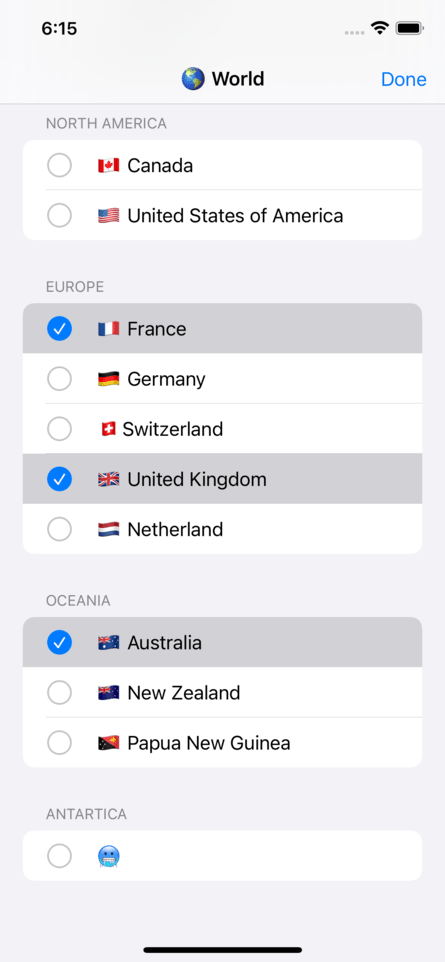
Implementing Multi-Section
The last thing I would like to implement is the ability to select multiple items from the list. In order to do this just add the following property inside the content view:
@State private var selection = Set<UUID>()
Next, bind this selection property to the List's selection argument and then add an EditButton() to the top navigation bar like this:
NavigationView {
    List(selection: $selection) {
        ....
    }.navigationTitle("🌎 World")
    .toolbar {
        EditButton()
    }
}
So, now you have an edit button on the navigation bar of the app. Tapping it will let you make multiple selections and all those selections will be stored in the selection set.
The full code for this project is available on GitHub.