How to Make a Splash Screen for Your SwiftUI App
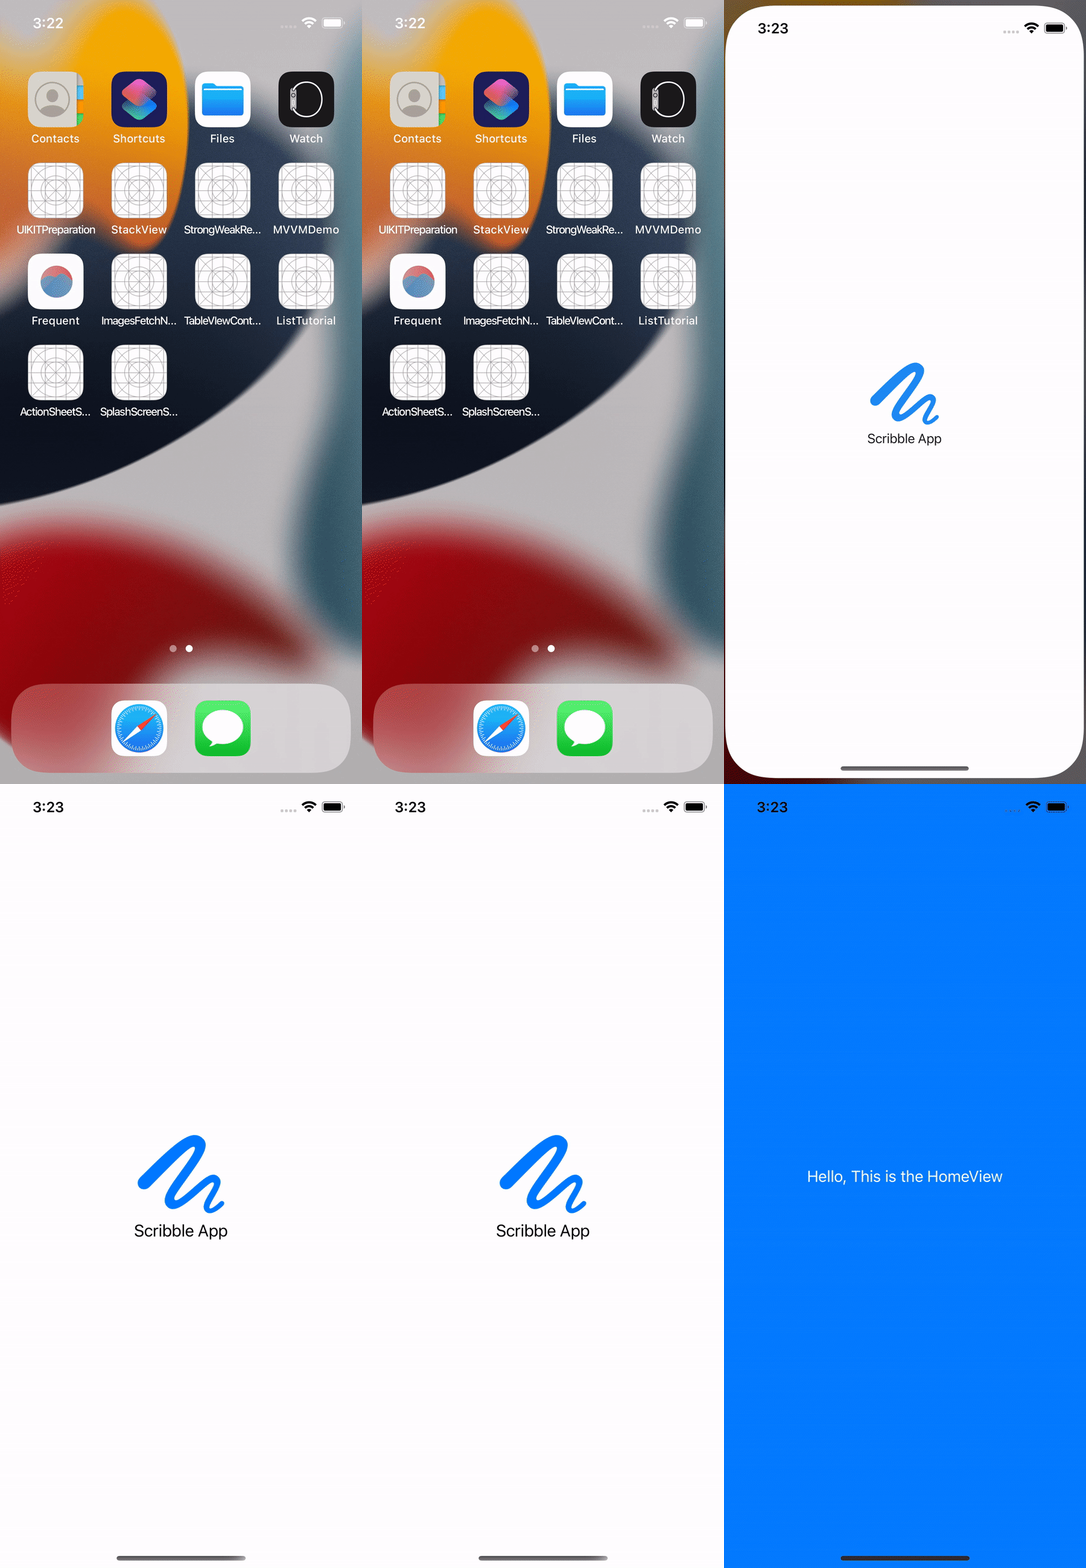
Splash screen is the first screen that shows up when you open an app. Its an introductory screen usually used as a way to welcome the user while the app loads up initial data. The screen usually contains the app logo and/or name. In this article, we will implement a splash screen using SwiftUI.
Let's start this project by creating a new SwiftUI view called ViewCoordinator.swift. This file will keep track of when to show the splash screen and when to load up the main content view. In ViewCoordinator.swift add the following code:
struct ViewCoordinator: View {
    @State private var isActive = false
    var body: some View {
        if isActive {
            ContentView()
        }else {
            SplashScreen(isActive: $isActive)
        }
    }
}
We have a isActive boolean that we are binding to a boolean inside SplashScreen.swift. More on this later. However, the isActive boolean basically controls which view to show. If isActive is False then SplashScreen will be shown, and as soon as it becomes True we will show the ContentView.
Now, lets move on to SplashScreen.swift. This is how the code looks like:
struct SplashScreen: View {
    @State private var scale = 0.7
    @Binding var isActive: Bool
    var body: some View {
        VStack {
            VStack {
                Image(systemName: "scribble.variable")
                    .font(.system(size: 100))
                    .foregroundColor(.blue)
                Text("Scribble App")
                    .font(.system(size: 20))
            }.scaleEffect(scale)
            .onAppear{
                withAnimation(.easeIn(duration: 0.7)) {
                    self.scale = 0.9
                }
            }
        }.onAppear {
            DispatchQueue.main.asyncAfter(deadline: .now() + 2.0) {
                withAnimation {
                    self.isActive = true
                }
            }
        }
    }
}
Let's go through this code line by line. We are assigning two properties. The first one is scale which we will use to scale up the size of the logo and text when the view loads up. The next property is a binding property called isActive. This property is binded to the isActive property of ViewCoordinator. Changing this property, will reflect which view is shown (ContentView or SplashScreen).
Next, we have two nested VStacks. In the inner most VStack we have an Image view and Text view. We are using the .scaleEffect modifier and passing it the scale property. Initially, the size is 0.7. Now in .onAppear closure we will change the scale property to 0.9.
In order to make this change look smooth, we will do this assignment inside a withAnimation closure with a .easeIn animation of duration 0.7s. So, now when the SplashScreen appears, the logo will animate smoothly.
In the outer most VStack, we will again use .onAppear and in its closure we will change the .isActive boolean value to true. We don't want this code to run instantly, so we will delay the execution of this code for 2 seconds. This is where you can set duration of the splashScreen. (It can be hard coded value or it can be a dynamic value such as waiting until some response is returned from a network call) So, after 2 seconds the isActive boolean value will change to true. To do this, we will use DispatchQueue.main.asyncAfter. Since, this property is binded to the boolean property inside ViewCoordinator, the change in its value will trigger a refresh of the ViewCoordinator and we will show the ContentView.
To make the transition from SplashScreen to content view less abrupt, we will again make use of the withAnimation closure. This allows for a much smoother transition.
Now, head over to the main app file and make the following change:
@main
struct SplashScreenSwiftUIApp: App {
    var body: some Scene {
        WindowGroup {
            ViewCoordinator()
        }
    }
}
Instead of ContentView(), we will call ViewCoordinator().
And that’s it 🎉 This is how the splash screen looks like:
