How to Show an Alert in SwiftUI
Showing an alert is a way to take user's full attention for an important action. For example, when you are deleting a photo, or a document an alert pops up asking you if you are sure about deleting the item. Just like with Action sheets, Apple released a new Alert modifier for apps targeting iOS 15+. If your app targets iOS 13/14 then you need to use Alert() struct. We will discuss both ways in this article.
iOS 15+ Alert Modifier
Let's start with the Alert modifier. We will create a new SwiftUI view and add the following lines of code:
struct ContentView: View {
    @State private var isPresent: Bool = false
    var body: some View {
        VStack(spacing: 20) {
            Text("Delete the picture?")
                .font(.headline)

            Button("Delete") {
                isPresent = true
            }

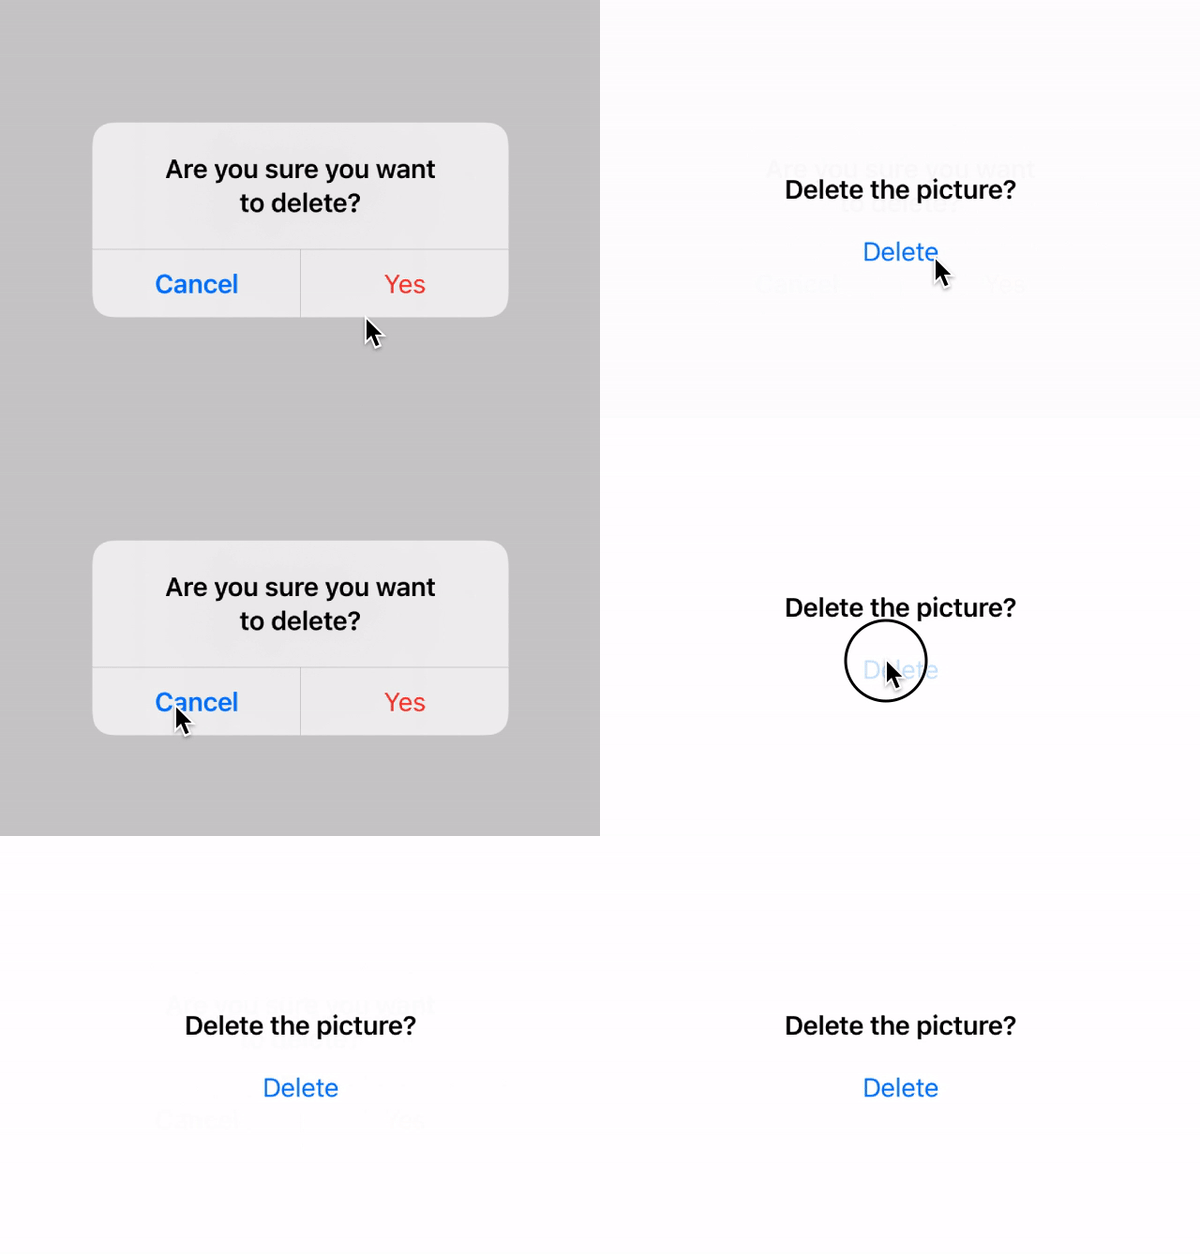
        }.alert("Are you sure you want to delete?", isPresented: $isPresent) {
            Button("Yes", role: .destructive) {
                print("Picture deleted!")
            }
        }
    }
}
In this view, we are first creating a boolean state property called isPresent. This boolean property will be used to track if alert is showing or not. When this property isPresent is made true, the alert will show up. When you tap the cancel button / or dismiss the alert this value will become false again.
Inside this content view we have a VStack containing a textview and a button. When you press the Delete button, the isPresent boolean is toggled and this shows up the alert.
To the VStack, we are applying the alert() modifier. The alert modifier takes in a message text, the isPresented boolean and inside the closure of the alert modifier we can add the standard SwiftUI Buttons. Its worth noting that SwiftUI button comes two roles: .destructive and .cancel.
.destructive role basically means that the button is about to do a destructive operation such as delete user data etc. Therefore, the destructive role adds a cancel button for free in order to dismiss the alert without doing that destructive operation and also stylizes the button (adds red font color). You can add as many destructive buttons as you want in your alert closure, however each alert can only have one cancel role button only.
cancel role is mainly meant for a button that cancel an operation and dismiss the alert. You can also just add a simple button without any roles assigned to them.
So yes thats about it. This is how you can implement alert for iOS 15+.

iOS 13/14 Alert() Struct
For iOS 13 and iOS 14 you need to use the alert struct. This struct can be used for apps that target iOS 15/16 too.
The Alert struct looks like this:
Alert(title: Text("A message"),
      message: Text("Some important message"),
      dismissButton: .default(Text("Okay")))
There is also another variation of this which looks like this:
Alert(title: Text("A message"),
      message: Text("Some important message"),
      primaryButton: .destructive(Text("Delete")),
      secondaryButton: .cancel())
You provide the alert title, the message you want to show and the dimissButton. Again you can choose from different roles such as default, cancel or destructive.
Here is how to implement the alert using Alert() struct:
struct ContentView: View {
    @State private var isPresent: Bool = false
    var body: some View {
        VStack(spacing: 20) {
            Text("Delete the picture?")
                .font(.headline)

            Button("Delete") {
                isPresent = true
            }

        } .alert(isPresented: $isPresent) {
            Alert(title: Text("Important message"), message: Text("Some message using Alert struct"), dismissButton: .destructive(Text("Delete"), action: {
                print("delete")
            }))
        }
    }
}
Again the isPresent boolean property is used to track where the alert should be shown or not. When the alert is shown, the Alert struct is called and the relevant data is shown on the alert prompt.
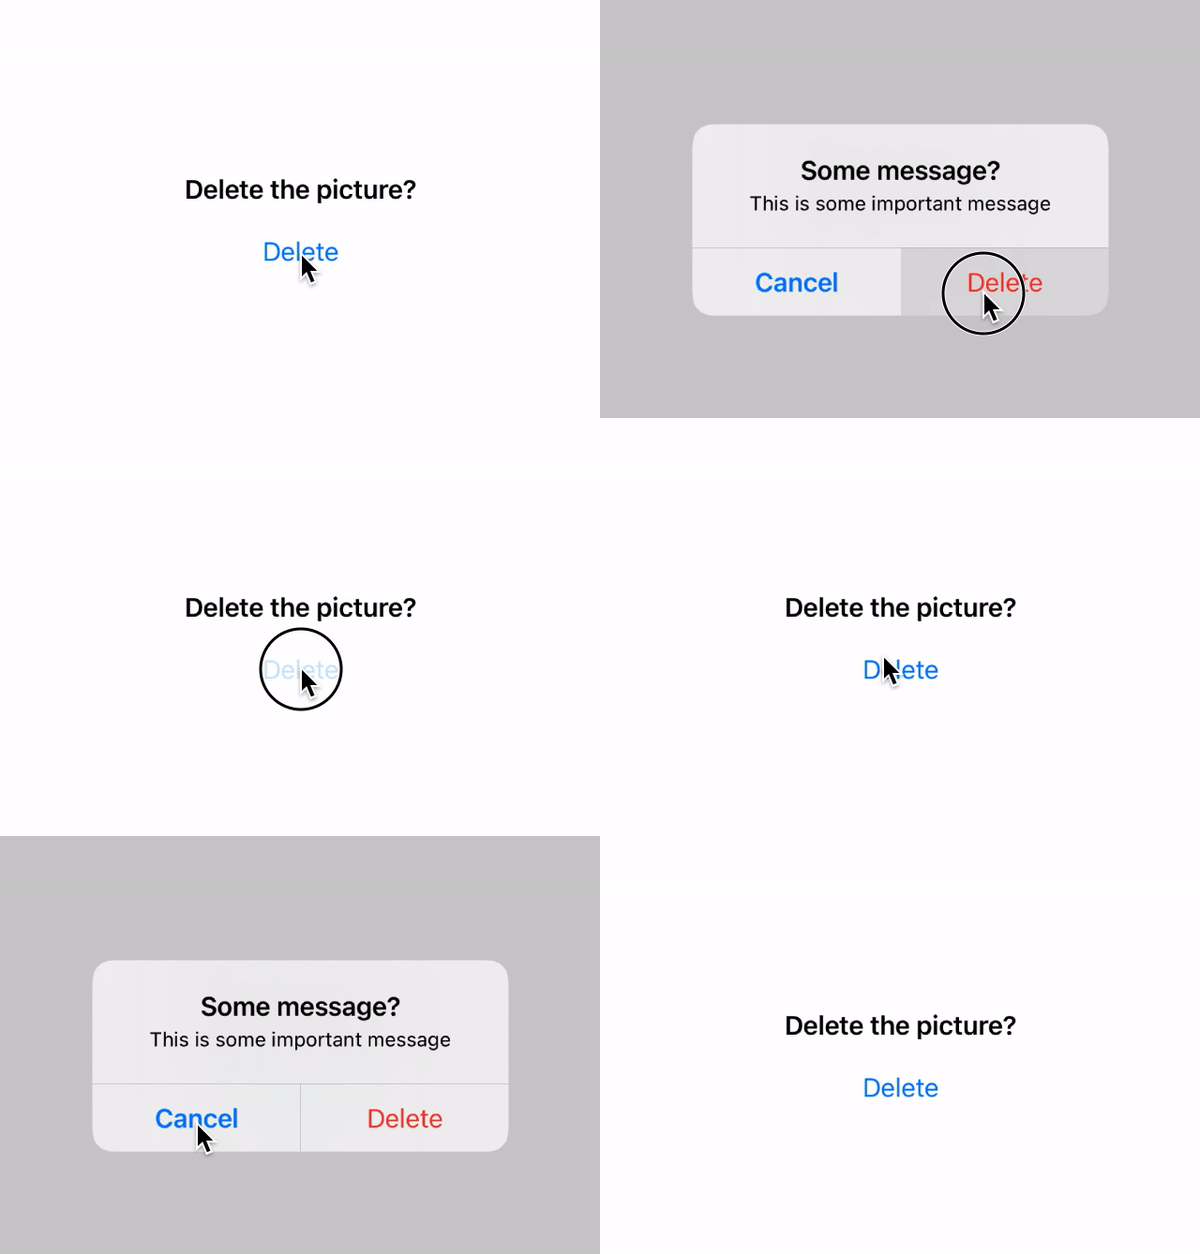
In the above struct, only a dismissButton is provided. However, there are times when we want two buttons, like a cancel and a delete button. To do this, we can use the primary or secondary button properties provided by the Alert struct and add actions to each button.
struct ContentView: View {
    @State private var isPresent: Bool = false
    var body: some View {
        VStack(spacing: 20) {
            Text("Delete the picture?")
                .font(.headline)

            Button("Delete") {
                isPresent = true
            }

        } .alert(isPresented: $isPresent) {
            Alert(
               title: Text("Some message?"),
               message: Text("This is some important message"),
               primaryButton: .destructive(Text("Delete")) {
                   print("Deleting...")
               },
               secondaryButton: .cancel())
        }
    }
}
The above code will add a cancel and delete button to the alert. Till now we have been using a boolean property as a way to track if the alert should be presented or not. There is another way to do the same and that is by using an optional property. When that property is equal to none, the alert doesn't show up. As soon as a value is assigned to that property, the alert pops up.
This is perfect if you want the alert to contain dynamic data instead of the hard coded values for title, message or button. Lets see how we can implement this:
struct ContentView: View {
    @State private var selectedContact: Contact?
    var body: some View {
        VStack(spacing: 20) {
            Text("Delete the Contact?")
                .font(.headline)

            Button("David") {
                selectedContact = Contact(name: "David")
            }

            Button("George") {
                selectedContact = Contact(name: "George")
            }

            Button("Bob") {
                selectedContact = Contact(name: "Bob")
            }

        } .alert(item: $selectedContact) {_ in
            Alert(
                title: Text("Are you sure?"),
                message: Text("Delete \(selectedContact?.name ?? "")"),
                primaryButton: .destructive(Text("Delete")) {
                   print("Deleting...")
                },
               secondaryButton: .cancel())
        }
    }
}
The above code uses the .alert modifier but instead uses item argument instead of isPresented. Here we pass a property called selectedContact which is of type Contact. Contact is a custom struct we have created. This is how it looks like:
struct Contact : Identifiable {
   var id: String { name }
   var name: String
}
Make sure you conform the struct to the Identifiable property. Now, we have three buttons inside the VStack. On tap of each button, the selectedContact is assigned an object of Contact. So, here we have three buttons, each button has a name label. When the button is tapped, a new Contact object is made with the name of the person and is assigned to selectedContact property. Now, when the property is nil the alert is not shown. As soon as we assign something to the property, the alert shows up and we use the selectedContact.name property inside the alert message
And thats how it looks like:
